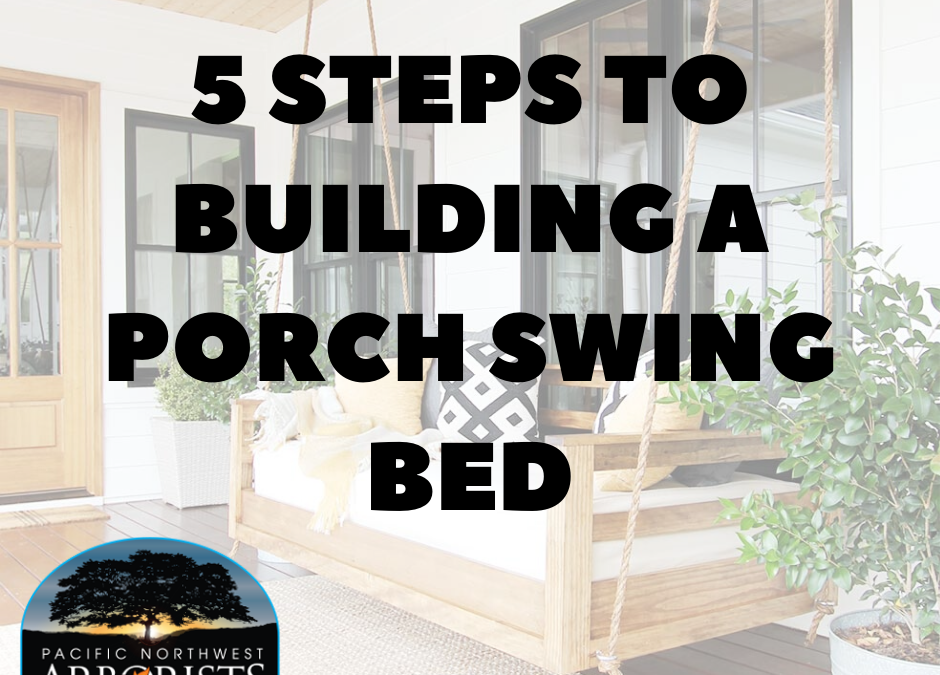
Adding furniture or a fire ring to a porch is always nice, but adding something hand-made and attractive icing on the summer nights cake! If you have a roof over your patio, hanging a swing bed is a fantastic way of updating your backyard appeal.
Building your own porch swing bed for around $200 can be an affordable alternative to purchasing one from a store, all depending on what wood you purchase, and where. Follow these 5 easy steps to build a porch swing, which are great for naps and impressing your guests and neighbors.
MATERIALS NEEDED:
- Finish Nailer
- Tape Measurer
- Wood Glue
- Wood Stain
- Wood Filler
- Miter Saw
- Sand Paper
- Jig Saw
- 4 Eye Screws
- 1 1/4″ Finish Nails
- 2″ Finish Nails
WOOD:
- 3 pieces of 1″ x 8″ x 8′ clear pine
- 8 pieces of 1″ x 3″ x 8′ clear pine
- 1 piece of 1″ x 4″ x 8′ clear pine
- 2 pieces of 2″ x 3″ x 8′ framing lumber
- 1 piece of 2″ x 4″ x 8′ framing lumber
- 3 pieces of 1″ x 3″ x 8′ knotty pine
KEEP IN MIND:
All joints in this build are butt joints. It is imperative that everywhere there is a joint or two pieces of wood meet, you want to apply wood glue.
Step 1: Build the Frame
Starting out, to build the main frame, use 1x8’s, measuring 77” x 39”. On the joints, use 2” finish nails.
Next, add an inner frame for support and something to nail the bed slats to. For extra bulk for when the eye screws go through, use 2x4’s on the sides and 2x3’s for the front and back, measuring 72 ½”x39”. Make sure the bottom of the 2×4’s are flush with the bottom of the frame. Then, nail and glue the inner frame onto the inside of the outside from using 2” nails.
For the slats, cut 6 39″ long pieces of the 1×3 knotty pine and space them out evenly along the inside of the bed frame, nail them in place.This will be the support for the mattress.
Step 2: Build the Posts
Second, construct 4 posts out of the 1x3 clear pine, one for each corner. For the front two measure at 20”, and the back two 26 2/8”.
Each post is made from two pieces. Apply a bead of glue down one edge, then place the other piece on top of the glued edge to form an “L” shape. Make sure the edges are perfectly lined up, then nail the two pieces together with 2” nails.
To finish, attach each post to the corners with glue and 1 1/4″ nails.
Step 3: Add the Rails
Once all of the posts are in place, you can begin to cut the rails- the horizontal pieces that connect all of the posts.
The three back pieces are cut at 77”, and the two side pieces at 39 ¾”, with 3 ¾” in between each rail.
The arm rest pieces require a little extra cutting. First cut each arm piece to 41 ⅝” from a piece of 1×3. Then, using a jigsaw, cut out a notch for it to fit around the back post, ¾” in and 2 ½” up.
Once the rails are made, glue and nail them in place, attaching the back rails first, then the sides.
Then, I add 1×3 trim around the bottom of the swing on all four sides using glue and 1 1/4″ nails. 73 ½” for the front and back, and x 35 ½” on the sides.
The final step in the building process is adding the top to the back, and a middle rail support. For the top piece, use 1×4 cut at 79 ½”, and for the middle support, use 1×3 cut at 23 ⅞”. Glue and nail the pieces in place.
Step 4: Fill Holes and Stain
Fill all the holes with wood putty, and sand the swing with fine sand paper to remove any splinters and round off the corners. Then, apply a coat of stain and three coats of polyurethane for extra protection from any possible weather damage.
Step 5: Add the Eye Screws
Lastly, once everything is dry, it’s time to add the eye screws. The rope will run through these and hold up the swing. Measuring 1″ from the edge of the post, and 1 ¼” up from the bottom, which should put you in the middle of the bottom trim piece, drill a hole for the eye screw and screw it in.
THAT’S IT!
Any twin mattress and a fitted sheet will work just fine, just add some pillows and maybe a blanket!
When you hang your swing, you’ll use the same eye screws in the ceiling; we’ll cover that in our next article.