Most people can agree that fall is their favorite season. The change of color in the trees, the festive decor, layers of comfy clothes, and the cooler breeze in the air, what’s not to like?
If decorating your home for fall is one of your favorite activities, then you’re going to love this project! A perfect mix of spooky and charming, this DIY pumpkin succulent planter will be a creative way to decorate your home this fall. Combining the Halloween jack-o-lantern and everyone’s favorite house plant, the succulent, this is sure to be a fun project for the whole family! The best part, this project isn’t just for Halloween, depending on the design you choose to use, this can make for a crafty Thanksgiving decoration.
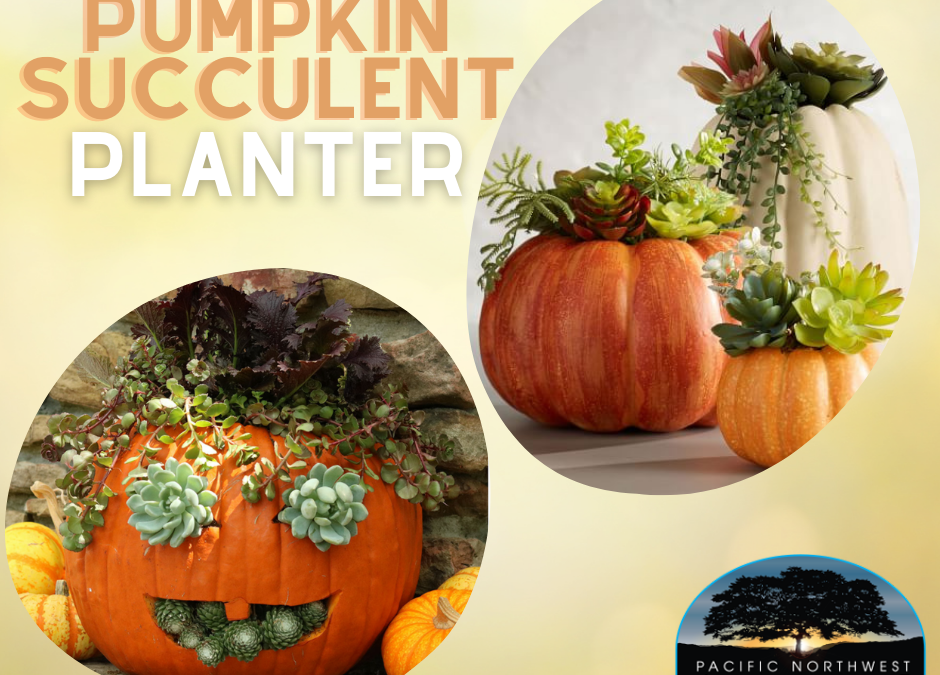
Turning your typical fall pumpkin into a succulent planter makes for a delightful display on your front porch or kitchen table centerpiece. Adding vegetable plants such as collard greens or kale are a great compliment to pair with a variety of succulents.
This is a low-maintenance and inexpensive project that is sure to demonstrate the true character of fall.
WHAT YOU’LL NEED:
Gardening gloves
Gardening trowel
Pumpkin carving kit, including a pencil
Potting soil
Medium to large pumpkin
Succulents
Vegetable plants
The first step of this project is to design your pumpkin. You could go with the traditional jack-o-lantern design, or try something new! We do recommend you use a simpler design with large features, so that the plants can be showcased. For the top of the pumpkin, use a small container or flowerpot and flip it upside down to outline a circle around the stem.
Next, use your carving tools to carve out the design on your pumpkin. Because you are using sharp tools, please take your time with this step.
Once your design is carved out, it’s time to scoop out the pulp inside of the pumpkin! Using a small garden trowel, you can quickly and easily get the job done. If you don’t have a garden trowel, a large spoon or ice cream scooper will work as well. Don’t forget to separate the seeds from the pulp so that you can make roasted pumpkin seeds for a yummy fall snack!
Now that your pumpkin is hallowed out, it’s time to fill it with wonderful plants! Carefully remove the succulents and vegetable plants from their containers, and gently brush off clumps of soil around their roots. Feel free to get creative and use the leafy vegetable plants as vomit and the succulents as brains, if you’re going for a more spooky pumpkin. Or, keep it cute by filling your design with a variety of plump succulents. Be sure to insert the plants from the outside of the pumpkin, in, rather than trying to push the leaves through the holes. Succulents do fine if they are crowded together, so make sure to fill the holes of your pumpkin with plants.
Make sure the cavity of the pumpkin is filled with the correct potting soil, this will ensure the plants stay in place, and of course remain healthy. Pot more succulents or plants in the top hole of the pumpkin; we recommend trailing succulents, such as the String of Pearls, to give a fun effect.
Voila! Add any final touches you’d like, and find a spot to display your festive project. These planters will be sure to make the neighbors take a second look when they are displayed on your front porch. Pair your planters with lanterns and other fall vegetables, such as gourds, squash and mini colorful pumpkins.